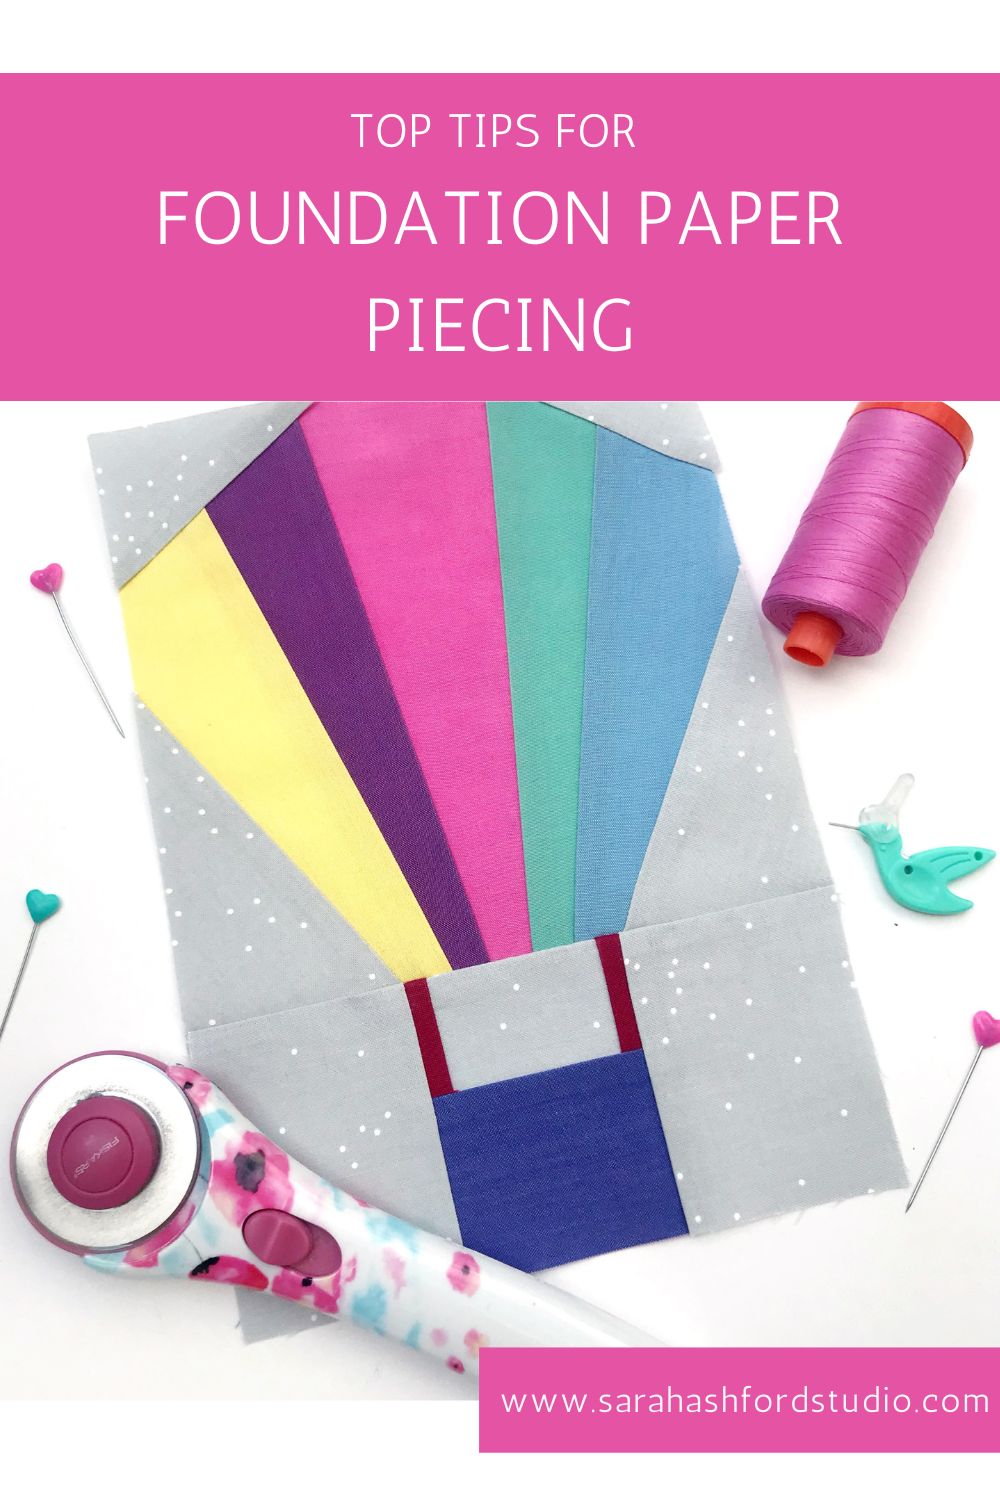
Whether this is your first time with FPP or you're a seasoned pro, I'd like to share some of my top tips for perfect piecing and accurate blocks every time. I hope you'll find them useful and that it sets you on the path to FPP confidence!
1. Get the Pens Out
One of the joys of quilting is putting together colours and fabrics. Curating fabrics can bring us such joy. With FPP it's important to remember that because you're working on the underside of your paper pattern, everything is back to front. And given that this method is a little counter intuitive anyway, it can be very easy to get your colour/fabric placement in a muddle. So I recommend roughly colouring in each section of your block in the colour that you want it to be, to help ensure that you stitch the right fabric piece in the correct place. Trust me, unpicking small stitches through paper is not that much fun! So this really helps avoid that.

2. English Paper Piecing (EPP) Glue
Yes I did say EPP glue, even though we are FPP-ing! A little touch of glue is great to get you started on each section. Take your first A1, B1, C1 etc. section and lightly spread a small amount of glue onto the paper of that section in the middle. You just need enough to hold the fabric in place before you add your second piece. Subsequent sections won't need glue as they will be stitched to the paper. I found the glue to be much easier than pinning to the paper as with glue everything lays nice and flat under the needle of your machine. It may also be that your first section is very small, so a pin wouldn't work anyway. I've FPP'ed 1 ½ inch blocks (yes, you read that correctly!) and the glue was perfect for this as a pin would have been far too big anyway.

3. Light the Way
If you're serious about FPP and see more of it in your future, I definitely recommend purchasing a light box. These days they are wafer thin, very light, portable, charged via a USB cable and super useful. I find an A4 sized one suits all my needs. Not just for FPP but for tracing quilt patterns, embroidery...in fact my children enjoy it for tracing intricate pictures too!
But back to FPP. Place the fabric behind the pattern right side down on the light box to check that your fabric is bigger than the section you're covering and with more than a 1/4” seam all around. If you're fussing cutting a motif, this also allows you to ensure that it's central, or where you want it to be. But if a light box is not for you, there's always the good old fashioned holding it up to a window trick!

4. Add a Quarter Ruler
In my opinion, an add-a-quarter ruler is an absolute must have for FPP. It's a ruler with a 1/4” ridge on it, allowing you to slot the ruler over the fabric and the paper, enabling you to cut a perfect 1/4” seam every time. The advantage is that the ruler fits in snuggly over the fabric and paper, so it doesn't slip and you have full control when you cut. I have the shorter ruler shown here, but they are available in longer lengths. I get on great with this size though as most of my edges aren't longer than this and if they are I can just move my ruler along. The shorter ruler also makes it easier to trim short sections, as it's easier to manipulate.

5. Use a Postcard
A postcard or indeed any bit of thin card is very useful for FPP. You do want it to be of about postcard thickness though. (Personally I like to use a postcard, preferably of somewhere I've visited, as then I can reminisce about happy times spent there.) Put the postcard against the fold line and fold the paper back over the line and towards the postcard. This will ensure that your line is straight a crisp every time. It's such a simple technique but so effective.

6. Rotary Cutter – Size Matters
First of all, make sure your rotary cutter is sharp! We are all guilty of using a blade that's seen better days, but it really does make so much difference when you're using a fresh blade. Also, make sure you're using the right size cutter/blade for the job. If you're piecing smaller blocks it is much easier to use a smaller rotary cutter to give you more control and accuracy. I'm thinking back to my 1 ½ inch blocks – a small rotary cutter was definitely needed then!

So That's the tools and equipment I recommend to give you the best possible results.
Other things I recommend are:
-
Using a short stitch length to more easily tear away the papers
-
Stitching forwards and backwards at the beginning and ends to reinforce the seams
-
Making sure you press each time between sections
-
Leave the papers in as long as possible. When you join the sections together, just tear away at the edge where you're stitching. Only remove the papers once your ready to baste and quilt your quilt
-
If necessary, use tweezers to help you remove papers that are caught within the stitches.
I know you're going to love my Up and Away Baby Quilt pattern and also my Sweet Heart of Mine Baby Quilt pattern! Both are a great introduction of FPP!
If you do make my foundation paper pieced patterns or quilt blocks, do share on socials and tag me @sarahashfordstudio I always love to see!
Be sure to subscribe to my newsletter to hear my latest news, receive free patterns and updates :-)
GET A FREE PATTERN WHEN YOU SIGN UP TO MY NEWSLETTER
