
I love to slow down sometimes and work at a more leisurely pace with some hand stitching. Sitting with a cup of tea, and ideally a friend to chat to as well, is pretty much my idea of heaven.
So I came up with the idea to embellish some of my projects with hand stitching in a Kantha style, to add a wonderful textured quality. This is different to hand quilting in that there is no wadding/batting, and it is not holding layers together, it is purely for decorative purposes.
I thought I'd give it a go on my One Hour Gift Bag pattern. With all that hand stitching it was going to take me much longer than an hour to make the bag, but I was ok with that; process not product, right?!
Let me tell you how I did it.
I used a light weight interfacing on the front and back panels of the bag, ironing it on according to the manufacturers instructions. This gave the panels that little bit more body, making them easier to work with but without making them too heavy.

Then to the fun part, choosing colours to work the stitching with! My favourite thread for decorative hand stitching is 12 weight Aurifil Thread, and I used a combination of colours, including one variegated thread.

I drew lines onto the fabric with a hera marker at differing intervals, between 1/4" and 1/2"; I wanted the gaps to be different to give it an organic feel. A hera marker is a plastic tool to 'score' the fabric. If you don't have a hera marker, a chalk pencil or your removable marker of choice would also work well.
I then started in the middle of the bag at the left and did a running stitch all the way along. I cut enough thread to be able to sew two rows before I ran out of thread.
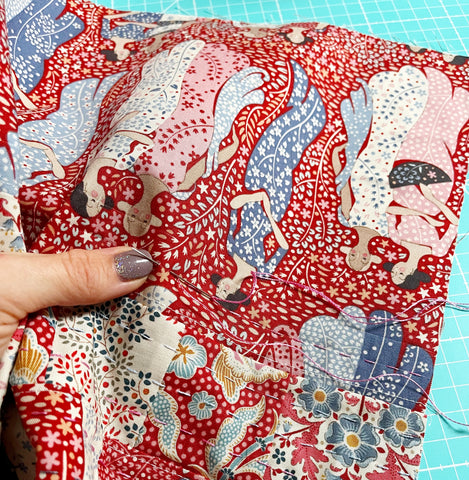
I carried on in this way, changing my thread colour every two rows, to add variation, and I didn't worry about being particular about which colour came next, I just went with it. I tied off the thread on the back each time. I then did exactly the same on the back panel.

Finally, I finished making the One Hour Gift Bag according to the pattern, which was surprisingly quick to do after all that hand stitching.
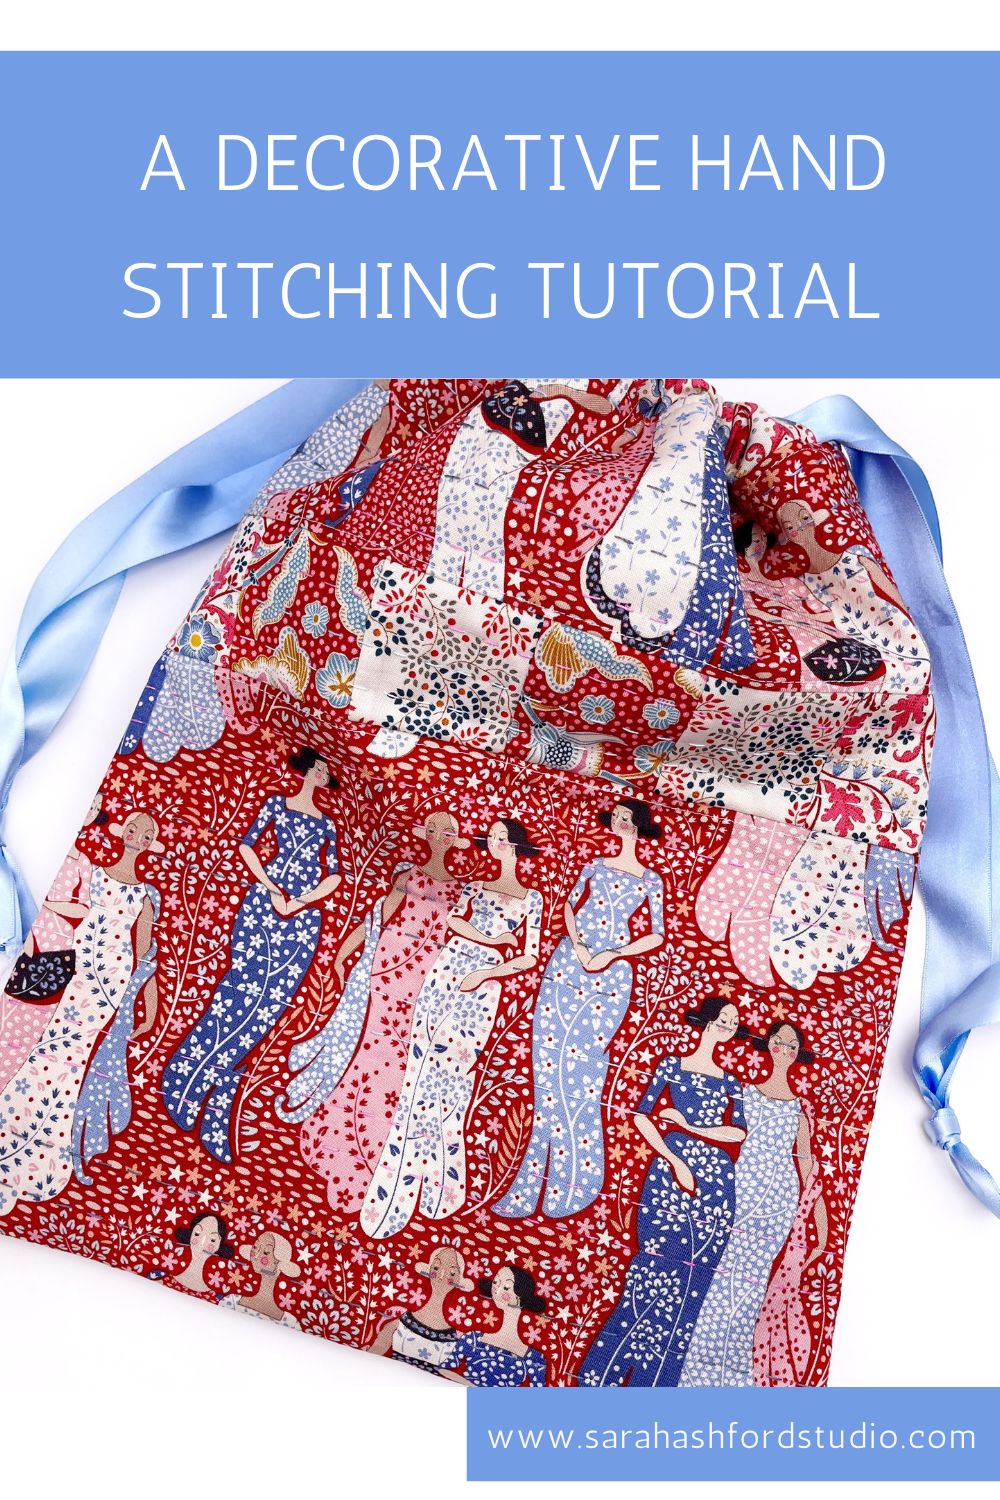
And ta-da! A beautiful gift bag complete with decorative hand stitching. The interfacing and stitching give it lots of body, which makes it feel really luxurious and special!

Even the back looks beautiful.

I hope you'll be inspired to give decorative hand stitching a go; you may just fall in love with the process as much as I have. You can find the One Hour Gift Bag pattern here, it's a great project to start with.
Oh, and isn't this fabric just stunning! It's called Hometown by Tilda.