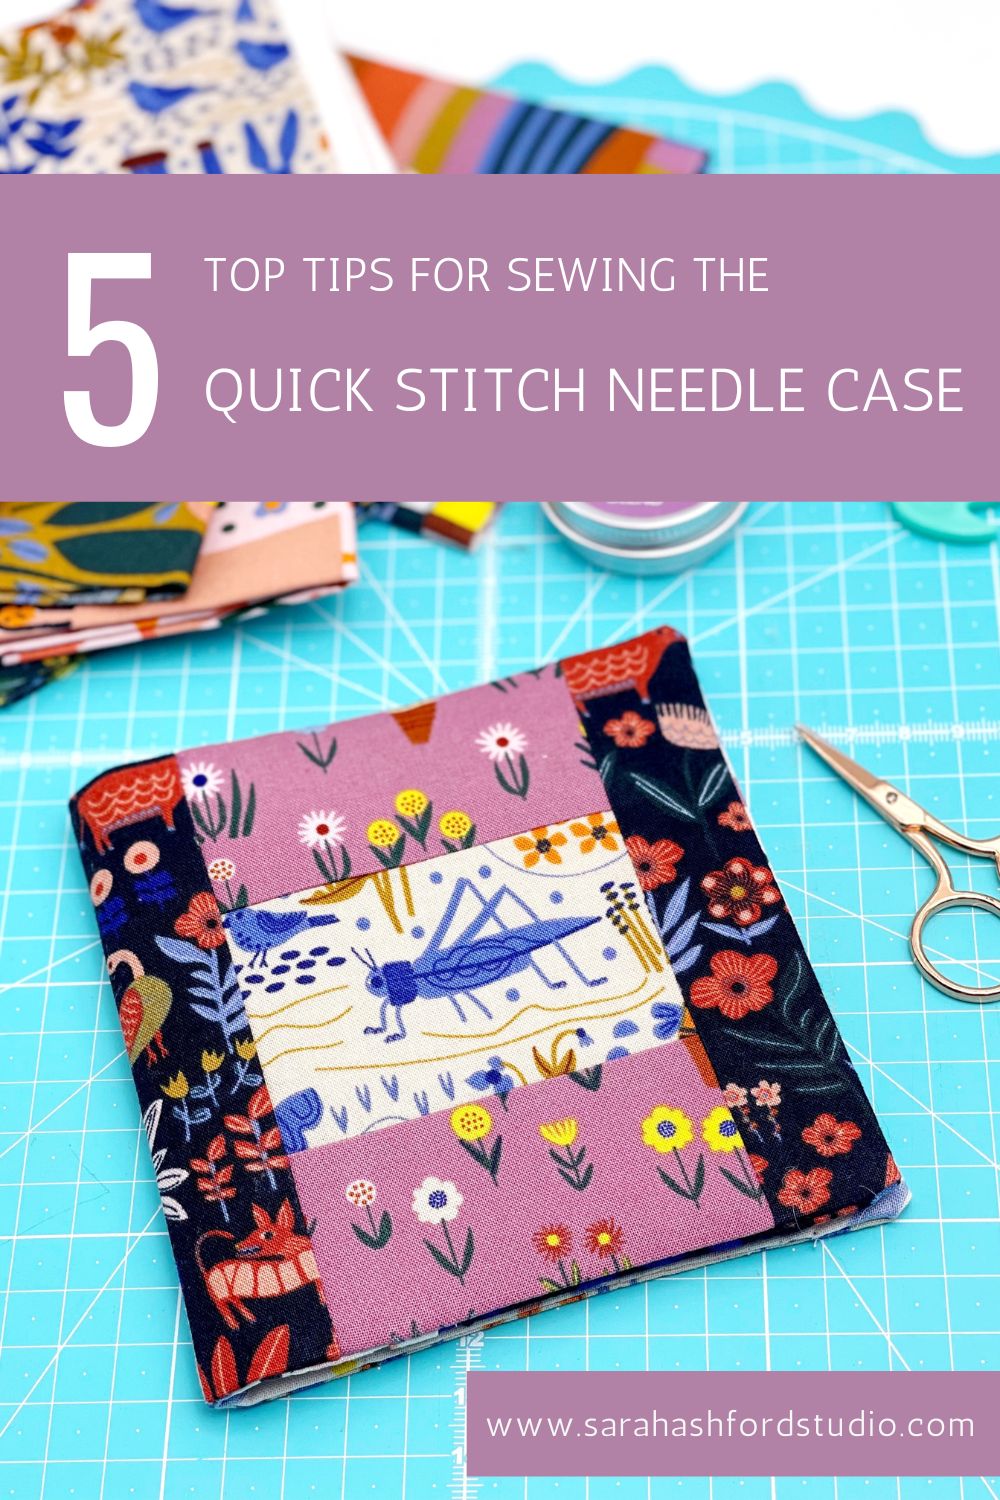
One thing I love about sewing and quilting is you could make the same thing 10 times over, each time in different fabrics and it would look completely different every time. So when I had the chance to play with the beautiful and whimsical Furrow collection by Leah Duncan for Cloud 9 fabrics, I just knew I wanted to make a new version of my Quick Stitch Needle Case Pattern. Autumn is here and stitching with this collection was just what I needed to embrace the changing of the season.
Stitching one of my own patterns that's already written is such a treat. I honestly couldn't believe how quickly it came together, and it was such fun. I want to keep it for myself but I know this will make the perfect gift for my sewing friends.
I thought I'd share a few top tips with you for this pattern, which actually apply to all small sewing projects!
1) Take care to get directional fabrics the right way up.
We've all done it. We start stitching or we go to open out the seam while ironing and bummer. The animal/flower/text/motif is upside-down. Never mind measure twice cut once, how about check and check again that everything is the right way up! It happens to the best of us. Thank goodness for seam rippers.

2) Measure Carefully when fussy cutting
For this Quick Stitch Needle Case I decided to fussy cut the adorable blue grasshopper for the centre. I had just one fat eighth of this fabric, and he was the only grasshopper on it. If I chopped him up by mistake, I was doomed. I made extra sure there was plenty of seam allowance before cutting in closer, to the right size. You could always mark the size out on your ruler with masking tape, or draw the cutting lines with chalk pencil first, especially if your favourite motif is one of a kind. You'll be glad you took the time to get it right.
3) Pressing Small Patchwork Pieces
Stitching with small pieces is really satisfying and effective, but there's nothing more annoying than when your mini patchwork block won't lie flat, even after excessive pressing. What you can do is immediately place an acrylic ruler on top after pressing, to trap the heat. Then add something heavy on top (such as a quilting book) and go and make a cup of tea. By the time you come back it will be nice and flat.
4) Sewing with Felt
The joy of sewing with felt is, it doesn't fray. You could, like me, use pinking shears to create a zig zag edge, but that's purely for decoration, felt won't fray when you cut it. Just make sure you increase your stitch length so that the needle can stitch more easily through the layers.

5) Close the Gap
Like many small projects, the Quick Stitch Needle Case has the need for a tiny bit of hand stitching to close the gap that was left for turning. I actually love this part of the process because I really enjoy hand stitching. I recommend using Aurifil 80 weight in Dove grey because this is a really fine thread that just melts into the stitching as you gently pull it tight. Dove is also my favourite thread colour because it blends with almost all colours, and is very gentle on the eye. You can find the Aurifil 5o weight thread for piecing and the Aurifil 80 weight thread for hand stitching, in my online shop.
I hope these little tips help give you a super finish on your Quick Stitch Needle Case and all your other small projects. Do share any of my pattern makes with me, I always love to see!


