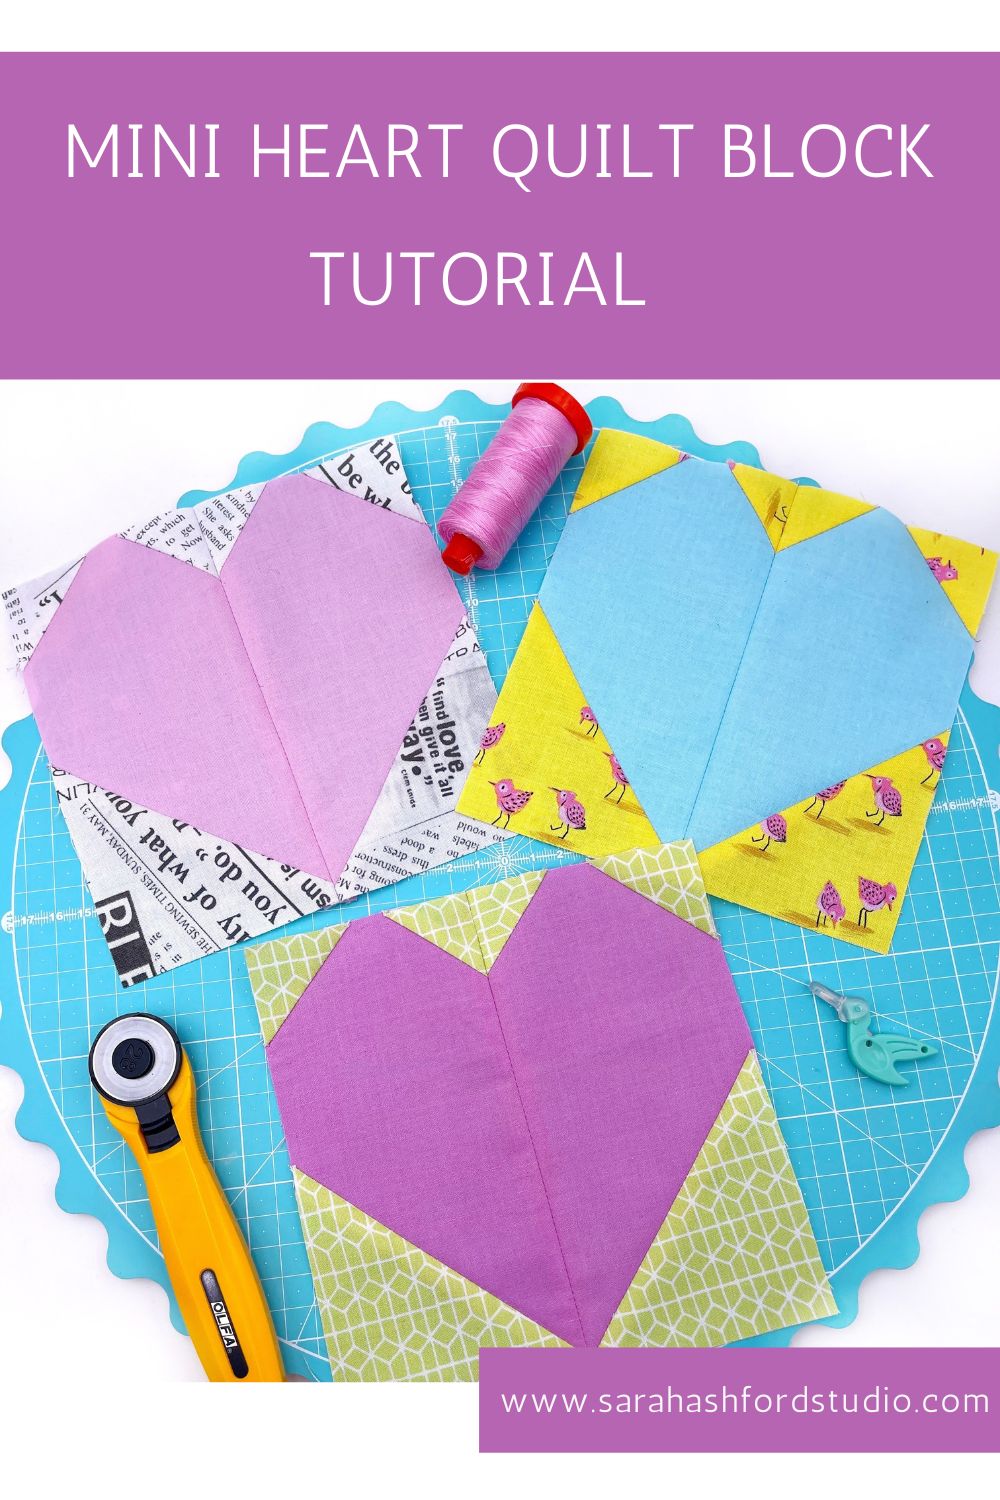
I do love February, when pretty hearts start appearing in my social feeds! In fact I love hearts so much, I even included one on the cover quilt of my beginners quilting book Jump Into Patchwork and Quilting.
I wanted to share a tutorial with you on how to make a 6" (finished) heart, using regular piecing. It's so easy when you know how, and soon you'll be adding love hearts to all your projects and quilts!
You will Need:
Heart fabric
Background fabric
Cutting:
Heart fabric - (2) 6 1/2" x 3 1/2" rectangles
Background fabric - (2) 3 1/2" squares (4) 1 1/2" squares

Construction:
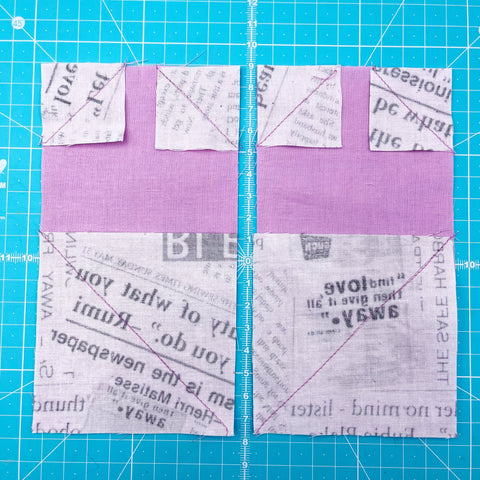
1. Draw a pencil line diagonally onto the back of each square.

2. Pin each square to each rectangle fabric, taking care to orientate the pencil lines as shown.

3. Stitch down each drawn line and trim off any excess thread.

4. Trim a 1/4" seam on the outside of each stitched line. Discard the excess triangles. (Or keep for another project!)

5. Open out and press. I find that using Flatter spray really helps get the triangles to sit nicely, especially the small ones!

6. Now all that's left to do is join the two pieces together. Place them right sides together down the long side, stitch with a 1/4" seam and press the seam open, to help the heart lie nice and flat.
And you're done! It will measure 6 1/2" and will be 6" (finished) when sewn into a quilt.

If you're anything like me, you'll be totally obsessed with making these and you'll want to experiment with lots of different fabric combinations. They are so much fun!

I'd love to see your heart blocks if you make some. Tag me on Instagram @sarahashfordstudio so I can see!
Be sure to subscribe to my newsletter to hear my latest news, receive free patterns and updates :-)
This post may contain affiliate links.
You can read my full disclosure privacy policy here.
GET A FREE PATTERN WHEN YOU SIGN UP TO MY NEWSLETTER
CHECK OUT MY DIGITAL SEWING AND QUILTING PATTERNS
TAKE A LOOK AT MY FAVOURITE THINGS IN MY AMAZON SHOP

